Build Fantasy Football Team: Budget, Roles and Fixtures

The most repeated advice about this game is to pick your eleven best players and spend the minimum on the bench. That gets the order backwards. The bench is insurance, and insurance carries a price you can measure in starting-XI quality, so it belongs inside the budget arithmetic rather than in whatever is left over. My conditional view is that you build from the constraint outward: a legal 15 first, minutes and roles second, chance data third, and the captain as a separate decision on the day.
Build fantasy football team plans fail for boring reasons, not exotic ones. An illegal position split, a fourth player from one club, a substitute who never plays, a captain who doesn't start. Every one of those is checkable before you spend a single million.
Keep two things apart throughout. Opportunity evidence tells you whether a player will be on the pitch. Chance evidence tells you what his shots and passes were worth in a defined sample. The first decides whether the second matters at all.
Squad Rules That Shape Every Pick
The first decision isn't a player. It's whether the squad you're imagining can legally take the pitch.
A squad holds 15 players costing no more than £100.0 million when first assembled, and each Gameweek you name 11 starters with four on the bench, with one captain's score doubled, per the official Fantasy Premier League rules. The same page lists the scoring routes: minutes, goals, assists, clean sheets, saves, defensive contributions and bonus points.
Position | Squad of 15 | Starting XI |
|---|---|---|
Goalkeeper | 2 | Exactly 1 |
Defender | 5 | 3 to 5 |
Midfielder | 5 | 2 to 5 |
Forward | 3 | 1 to 3 |
Club limit | Maximum 3 from one club | Applies to the full squad |
Why the club limit bites before any points model
The maximum of three players from one club covers the whole 15, not just the XI. That single line kills more draft squads than any pricing problem.
Say a manager likes one team's defensive fixtures and buys three defenders from that club. He then wants a midfielder from the same side because the role looks secure. The squad is now illegal, and one of those four picks has to go, at whatever price the market offers rather than the price he paid.
Position counts are a budget decision too
The split of two goalkeepers, five defenders, five midfielders and three forwards fixes how many slots you can spend heavily on. A squad that funnels money into three premium forwards has already decided to go cheap in defence and midfield, and the XI range has to allow for that shape.
Confirm three things before you compare anyone: the 15-slot count, the position split, and the club count. The official rules page carries an updated 2026 marking, so re-read it before you plan anything season-specific rather than trusting a cached version of the squad rules.
Reading Minutes, Roles and Fixtures Together
A rate without a window is a rumour. The official rules and statistics pages keep scoring routes and evidence in separate places: minutes, goals, assists, clean sheets, saves, defensive contributions and bonus points are how points arrive, while the statistics view exposes starts, expected goals, expected assists, expected goal involvements, expected goals conceded and defensive actions.
Treat each of those as its own evidence layer with its own limit.
Minutes and starts come before everything
Starts and recent minutes estimate opportunity. A strong per-90 rate tells you what happens when a player is on the grass, not how often he'll be there. Filter on minutes first and accept that the upside list gets shorter, because a bench player with a beautiful rate per 90 still scores you very little.
Chance quality is not a points forecast
Expected goals and expected assists measure the quality of the chances a player takes and creates across the stated window. xGI is expected goals plus expected assists, and the per-90 form adjusts for playing time so a player with more football doesn't automatically look better than a sharper one with less.
Measure | What it supports | What it does not show |
|---|---|---|
Starts and minutes | Opportunity over the stated window | Whether the role will continue after the next team news |
Expected goals (xG) | Chance quality for an attacker over the stated window | Goals in future Gameweeks |
Expected assists (xA) | Chance-creation quality over the stated window | Assists in future Gameweeks |
xGI per 90 (xG + xA per 90) | Minutes-adjusted chance involvement | An FPL points forecast |
Next-gameweek xP (official) | Expected points for the next Gameweek only | Any multi-Gameweek forecast |
Fixture difficulty | Difficulty of the next opponent and venue | Clean sheets or goals in any given match |
Practical rule: official next-gameweek xP is a single-Gameweek value supplied by FPL. Read it as one fixture, never as the shape of a month.
Position, price, minutes and availability filters remove players who don't fit the decision before you rank anyone. That's the point of filtering: a shortlist of plausible names beats a long list of interesting ones.
Read fixtures in blocks of three to five rather than one at a time, and use the fixtures and difficulty research to set the run against each opponent's defensive record and venue. A hard opponent only matters if the two after it are hard as well. Write each figure down with its season, its completed-match window and its source before you compare two players, because mixing a season total with a four-game sample flatters whoever has played more recently.
How to Build Your Squad Step by Step
A build that survives team news follows the same order every time, and it starts with the slots rather than the names.
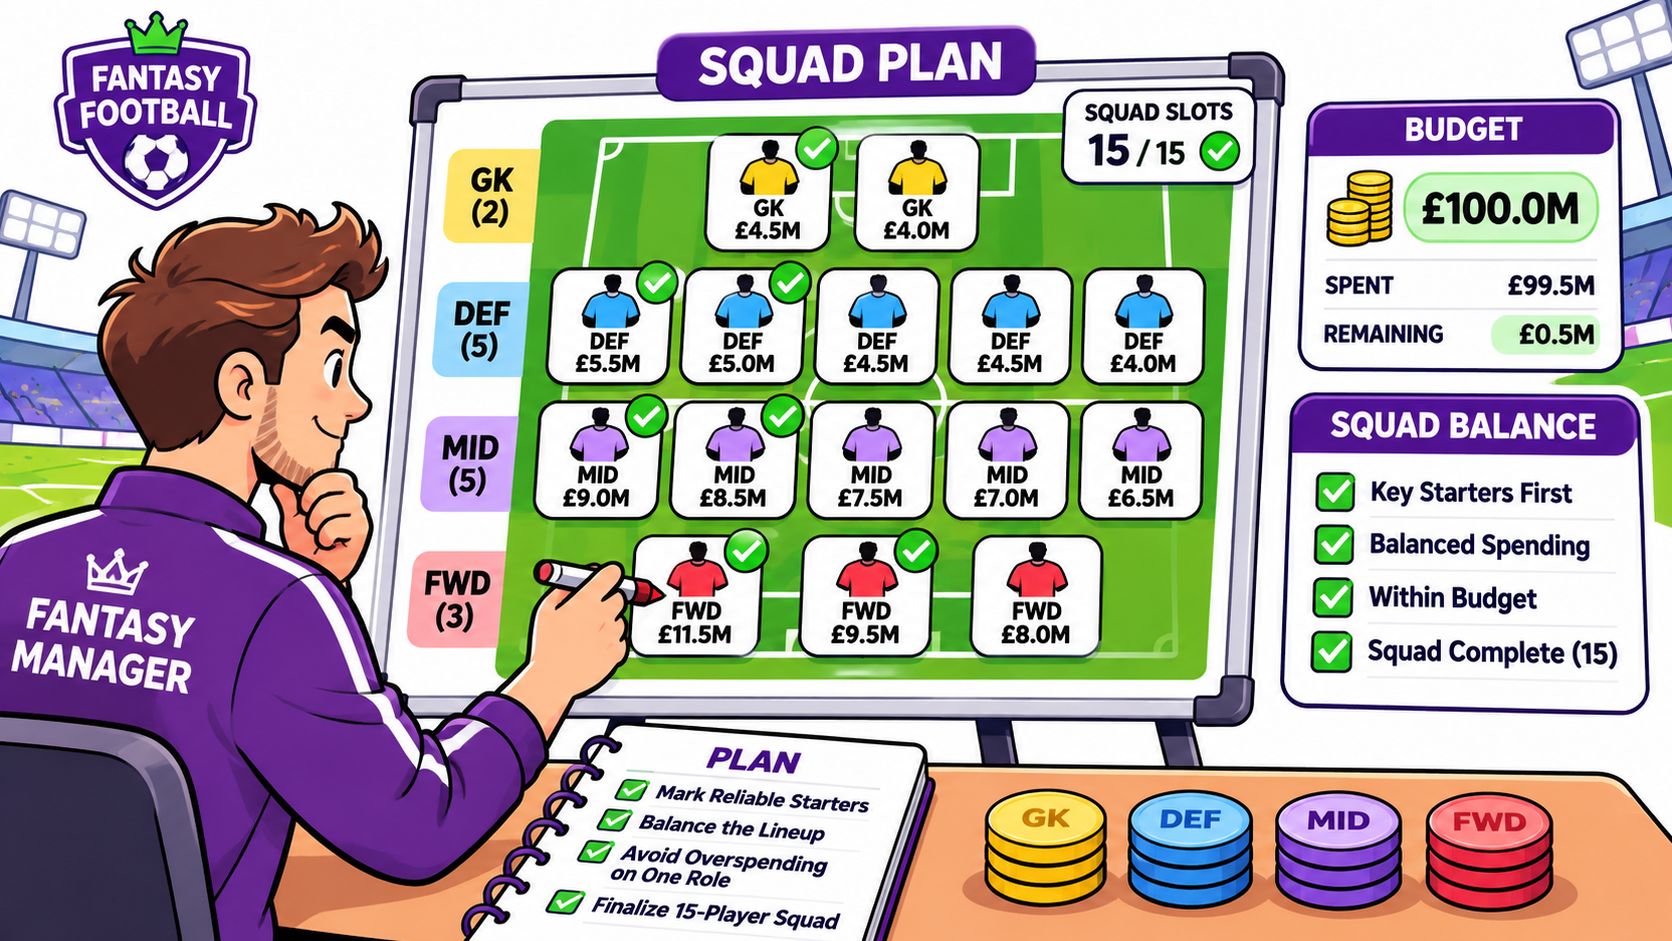
Set the money and the shape. Fix the £100.0m total and the 15 slots from the rules so every pick has a home. Starting with names tends to pour money into one position and leave a hole you can't fill legally.
Split opportunity evidence from chance evidence. Starts, minutes and role tell you how often a player gets the opportunity; xG, xA, xGI and official next-gameweek xP tell you what he tends to produce with it. Shortlist on the first group, then compare within it using the second. A strong chance figure attached to a substitute describes a player who rarely plays, which is the more important fact of the two.
Name three or four real alternatives per slot. A choice only means something against a comparable player at the same position and a similar price. If you can't name the alternative, you haven't made a decision.
Rank on role, set pieces, attacking involvement, defensive contribution, fixtures, price and availability. Each factor answers a different question, and a player who wins on only one of them is usually a trap.
Allocate starting spots by expected minutes, then order the bench the same way. The bench is insurance with a measurable cost: budget parked there is expected contribution removed from the XI. Pay for cover you would start, and accept a cheaper final slot once the first substitute is credible.
Run the shape past the squad rules before you commit. The legality constraints bind the finished 15 rather than each pick in isolation, so a squad built across several transfers can drift out of bounds. Confirm it still satisfies every rule instead of re-deriving them here.
Treat the armband as a separate decision. Captain points are doubled, so the captain deserves its own comparison rather than defaulting to whichever attacker cost the most.
Decide which player you'd sell first. A squad with no obvious first sale hides its weakest pick. Naming that player now tells you where the next transfer belongs before the deadline forces the question.
The pressure test: state the reason for each of the 15 picks in one line. The slots where the line comes out as "he was cheap" or "everyone owns him" are the slots worth another look.
Choosing Your Captain Separately From the Squad
The captain is worth more than the rest of your week, because the score is doubled, so it gets its own comparison rather than being the last click on a finished team.
Start from the role. A player who starts most weeks, takes set pieces and carries credible attacking involvement is the default candidate, and rotation risk is enough to disqualify him regardless of how good the fixture looks.
Compare the top three options on the same fixture and the same window. Use completed-match xGI per 90 for chance involvement and the official next-gameweek xP for the single Gameweek in question, and label which is which, because a season total, a recent sample and a one-week expected figure answer three different questions.
Conditional logic does the work here. If two attackers show similar chance quality and one has the weaker opponent plus confirmed minutes, that attacker is the stronger case. If the fixtures are close and one of them carries rotation risk, the safer pick is the player with the more secure starting role.
Triple Captain changes the maths only in the Gameweek it's played, so save it for a captain with both high expected contribution and secure minutes. Reputation isn't a tiebreaker. Write the name and the reason in one line before the team locks, and you'll know exactly why you did it when the result lands.
Splitting the Budget Between Starters and Bench
Most squad advice treats the XI as the whole problem. The official game guidance asks for 15 players who regularly start, plus a bench capable of covering non-appearances, so the bench deserves a price rather than a shrug.
Transfers limit how much insurance you can buy later: one free transfer per Gameweek, rollable to a maximum of five, with each extra transfer costing four points.
Secure XI, low rotation risk: a modest substitute is fine. An illustrative £4.5m bench player in a named season and Gameweek window is acceptable when you rarely need him.
Several starters with rotation or injury risk: two playable substitutes beat one, because cover you use is worth more than a slightly better first choice.
Fragile but high-upside XI: a flexible formation is often worth more than a forward line that forces a one-point appearance from the bench.
Weigh the cost of an unwanted one-point cameo or a forced points hit against the starting upside you gave up. That trade, not a universal bench rule, is the decision. Our value picks research is built for exactly that comparison.
Choosing Chips and Transfers Before the Deadline
Chip timing is a deadline question first. In 2026/27, managers get two sets of Wildcard, Free Hit, Triple Captain and Bench Boost, and the first set must be used before the Gameweek 19 deadline at 13:30 GMT on Saturday 2 January, according to the Premier League chip guidance. Only one chip can be played in a Gameweek.
Wildcard: makes transfers permanent and free. Use it when several positions need rebuilding, not to chase one fixture.
Free Hit: unlimited transfers for a single Gameweek before your previous squad returns. Reserve it for a short, specific opportunity.
Bench Boost: pays only when the substitutes have credible minutes, so check their starts before you commit.
Triple Captain: multiplies the armband by three rather than two, which raises the stakes on minutes security.
That same guidance reports that a Free Hit can't be cancelled once confirmed, and that playing it in Gameweek 19 prevents use of the second Free Hit in Gameweek 20. Check both points against the official rules page before you act on the boundary, because that transition is where chip plans break. Our transfer planning guide sets out how to sequence moves around those windows.
Confirm Your Squad Before the Deadline
The last meaningful decision before the deadline is usually about a doubtful player: buy him, hold him, or move him on. The Premier League's club-by-club injury listing was updated on 9 November 2026, and even a current entry there won't tell you a player's FPL price, position, next fixture or confirmed starting status.
Buying an injured or doubtful player needs verified return information. Without it, you're paying for a name. Holding one you already own can make sense when the absence looks brief and selling would force a points hit, because a four-point hit to replace a one-week absence is usually a losing trade.
A chance-of-playing percentage describes how likely a player is to feature. It belongs alongside the minutes evidence, feeding the same judgment rather than overriding it.
Our free pages cover every individual player profile plus Differential Picks, Budget Picks and Form Plus Next Fixture, with the other 14 maps and nine FPL tools reserved for paid TFA members.
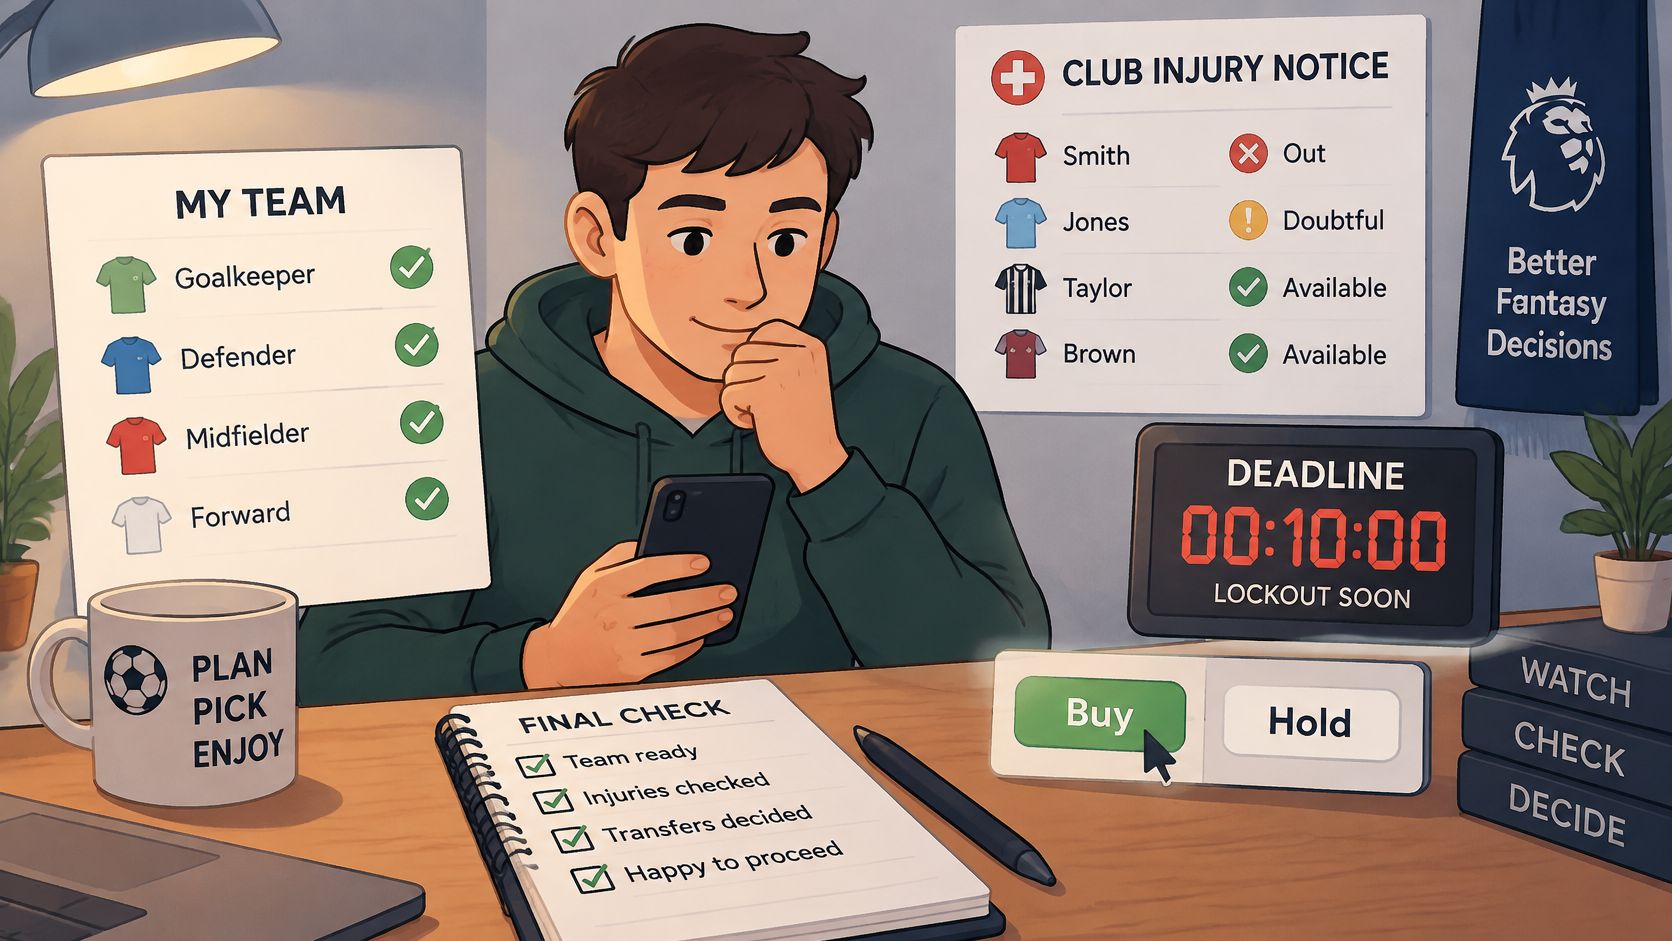
Open the player profiles, filter by position, price, minutes and availability to cut the list, then check each shortlisted name's last five completed matches and his next three fixtures before you commit. If a return date can't be confirmed for the named Gameweek, the pick stays out.