Football Fantasy Guide: How FPL Scoring and Squads Work

The usual football fantasy guide still tells you to buy whoever scored last week. A goal is a variable event, not a fixed prize: under the current rules the same finish pays differently by position, and it pays almost nothing if the player is off before the minutes line that triggers the longer appearance award and clean-sheet eligibility.
That is why a hot run is weak evidence on its own. For a player you already own, an unresolved start is a hold only when someone on your bench plays. For a target, the same doubt is a reason to pass unless the upside clearly beats a rival who starts. Minutes certainty comes before the highlight.
The frame here is the 2026/27 scoring rules rather than a named Gameweek call. Check the live price, team news, minutes and deadline on the official game before acting, because lineups move close to kickoff.
How FPL Scoring Works by Position
Chasing goals alone misreads the game. The same real-world event is not worth the same Fantasy Premier League points once position and playing time are applied.
The official FPL rules price a goal at 10 for a goalkeeper, 6 for a defender, 5 for a midfielder and 4 for a forward. An assist is 3 in every position. A player must play at least 60 minutes, excluding stoppage time, to take the longer appearance award and to be eligible for a clean sheet.
The 2026/27 scoring rules then split the rest of the floor. An appearance of up to 60 minutes is 1 point. At least 60 minutes is 2. A clean sheet is 4 for a goalkeeper or a defender, 1 for a midfielder, and forwards are not on that clean-sheet list, so their clean-sheet score is 0. Eligible defensive contributions can add 2.
The same goal, two scores
Put a completed match on those rates before you talk about bonus.
Goalkeeper: goal 10, assist 3, clean sheet 4, appearance 1 if under 60 minutes and 2 if he reaches 60.
Defender: goal 6, assist 3, clean sheet 4, appearance 1 or 2 on the same minutes split.
Midfielder: goal 5, assist 3, clean sheet 1, appearance 1 or 2.
Forward: goal 4, assist 3, clean sheet 0, appearance 1 or 2.
Say a defender plays 60 minutes, keeps a clean sheet and scores. That is 2 for the appearance, 4 for the sheet and 6 for the goal, 12 before bonus. A forward who plays 60 minutes and scores gets 2 plus 4, 6 before bonus. Same match idea, half the score, because the forward has no clean-sheet path.
Practical rule: Price the floor from minutes and clean sheets before you price the upside from goals.
Bonus sits on top of the event
The Bonus Points System still ranks the match, not your squad plan. The best player in that match gets 3 bonus points, the second gets 2 and the third gets 1. Bonus can lift a defender who already banked a sheet, and it can rescue a forward whose only route was the goal. It does not replace the 60-minute line. A substitute hooked early never reaches the sheet, and a goal from a deeper position is worth more on the table. Historical expected goals and expected assists describe chance involvement. They are not the points the rules pay for a finished event. Tag every sample with its season and Gameweek window, because roles, prices and the observed minutes can move.
Judging Minutes and Availability Before You Buy
An unresolved start is a hold only when a viable bench player exists. It is a reason not to buy unless the expected gain pays you for the rotation risk.
The FPL help pages describe a transfer as a way to replace an injured or suspended player and to target someone who has become a regular starter. They do not score the doubt for you. The official player feed can also return a missing value for this round and the next, and a blank is uncertainty, not a clearance. A chance-of-playing flag does not guarantee a start.
Check the published team line-up, recent full-match minutes, substitution patterns, the availability flag and whether the club has confirmed the injury. Our minutes research is the place to tell a one-week flag apart from a lost role. Holding is a comparison with your own bench. Buying has to beat the best realistic alternative at the same price.
Confirmed starter: Named in the line-up, with recent full matches. Hold, and buy only if the gain beats a same-price rival.
Likely starter: Regular minutes, no confirmed injury, team news still unclear. Hold while the bench can cover, and look again before the deadline.
Managed-risk starter: A rotation pattern, early hooks, or a flag. Sell if that is still open at the deadline, and do not buy unless the gain compensates.
Non-starter: A bench role, or under 60 minutes in most recent matches. Sell or avoid, because the appearance and clean-sheet floor is unlikely.
Treat this as a pattern, not a team-news report. A winger starts twice, is hooked early in a third, and carries a flag. That is a managed-risk starter until the line-up says otherwise. If the doubt is still open as the deadline nears, sell the player you own or refuse the buy.
Budgeting Starters, Bench and Price Tiers
Budget should buy minutes you can count on. Upside that a hook can delete is worth less than the price suggests, because the points never arrive in the weeks the player sits.
Plan three tiers, and do not let a cheap name skip the minutes test.
Premium starters anchor the side. You pay for a secure role, not for a single haul, and you judge them on whether that role is still theirs.
Mid-price players have to hold a regular place. A nice fixture run does not repair a winger who shares the shirt.
Low-cost options are bench cover. They are not a second XI you hope will spike.
A weak bench costs you only when a starter is flagged close to the deadline and nobody behind him can play 60 minutes. Cover is judged by the blank it prevents, not by a pretty price.
Say you are choosing between a forward with a secure starting role and a cheaper forward who rotates. The saving matters only if it funds a starting place somewhere else. If the money sits unused, you have bought a risk and funded nothing.
A shortlist before a comparison
Position, price, minutes and availability filters can remove players who do not fit a squad decision. Use those official filters to clear anyone who cannot play the role, sit inside the budget, or show usable minutes. Do that before you compare two names, or the shortlist fills with players you were never going to pick.
Name the positions that need a change. A like-for-like swap with no minutes problem is usually a hold.
Set a price ceiling for each of those seats, including the money a sale would free.
Shortlist three realistic players per position, all of whom can start.
Compare those three on minutes and fixtures before you let price break the tie.
You should finish with a short list per position and a written note on which player is the bench cover. If no name on the list protects the scenario you fear, the cheaper pick has not saved you money. For value screens that already sit inside a budget, the FPL value picks page is the public shortlist to open after your own ceilings are set. Prices on that page still need a live check before you move money.
Reading Expected Goals Without Mistaking It for Points
Expected goals describe chances a player has earned. They do not describe the Fantasy Premier League points he will score.
Expected goals (xG) measure chance quality in front of goal, so they support a read on attacking involvement. Expected assists (xA) measure the quality of chances created, so they support a read on creative involvement. xGI per 90 is xG plus xA, scaled to 90 minutes. xGI is expected goals plus expected assists (xG + xA). The per-90 figure is derived. It is not an official FPL statistic, and a thin sample can shout.
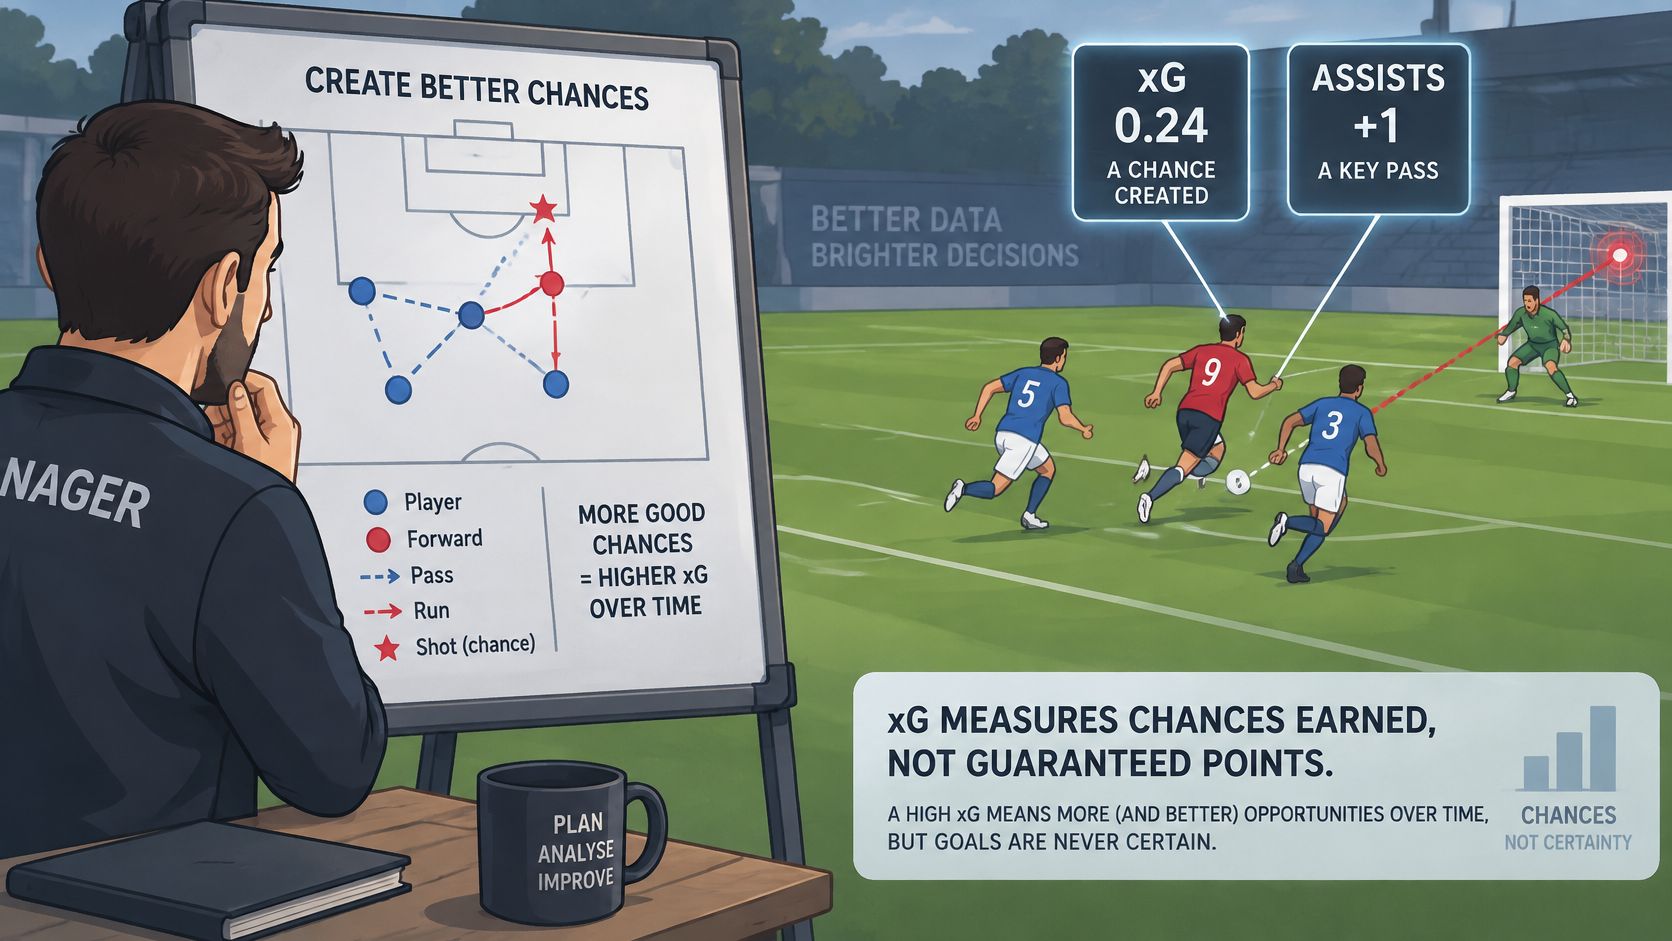
None of those three forecasts points directly. Points pay completed events, plus role and clean-sheet outcomes. A centre-back can post a modest xG and still outscore a forward who misses, because the sheet and the appearance sit outside chance quality. A winger can lead xA and still blank if the shot is saved.
Keep the window honest
Season totals and recent form are different samples. Do not add a full-season rate to a three-match burst and call it one number. State the window beside every figure you use. Per-90 rates also need comparable minutes. A 300-minute sample can overstate a player's rate, because one penalty or one dead-ball routine dominates the average. If two players are not close on minutes played, do not rank them on the rate alone.
Player prices, points, ownership, form, transfers and expected statistics come from the official Fantasy Premier League data. Read them as official outputs with a season and a Gameweek window attached. The official next-gameweek expected-points value is a single-gameweek figure. It is not a run of future scores.
A wider player statistics guide is useful when you want chance quality explained before you translate it into a squad call. Use it to see what a chance model is measuring. Then come back to points, minutes and role for the action.
Use chance metrics to explain why a return happened, or why another is plausible. Use points, minutes and role to decide whether you buy, hold or sell.
If the chance data is strong and the minutes are not, you do not have a pick yet. You have a reason to keep watching.
Using Fixture Difficulty Without Overrating It
Fixtures change what a role can produce. A green run on its own does not justify a transfer.
The Premier League's Fixture Difficulty Rating combines home and away performance with each club's form over the previous six fixtures, then compresses that into a 1-to-5 scale where 1 is the easiest fixture and 5 the hardest. That scale is ordinal. It ranks fixtures rather than measuring them, so the step from 4 to 3 can be small while the step from 3 to 2 is large. Treat the number as a screen, not a probability you can bank.
Screen the run with the rating, then check the mechanism: chances created and conceded, set-piece vulnerability, expected goals allowed and the likely game state. Put those beside the player's expected minutes and role. The fixture difficulty research view projects xG per match across the next three gameweeks from each club's attacking xG, the opponent's expected goals conceded, venue and the official rating, which keeps the run and the role on one pass instead of rubber-stamping a colour.
Role decides which part of the fixture matters
Same fixture, different payout. A number 10 hosting a low-block defence rated FDR 2 earns his value through possession and assist chances. A centre-back in that same match is priced on clean-sheet probability and set-piece threat. Both squares show green. The midfielder can still return in a draw, while the defender needs the sheet to land. One FDR 2 can be a strong buy for one seat and a weak one for the other.
Keep the fixture read inside a horizon you set yourself. A green run of four is still four individual matches, so define the window, the next four or the next six fixtures, and revisit it as the table shifts.
Before any fixture-led transfer, answer three questions.
Do the minutes hold? A rotated starter in an easy match still scores zero from the bench. Fixture kindness pays only the players who play.
Does the role benefit? A holding midfielder keeps the same low ceiling whether the colour is green or red.
Does the price justify the change? If the move costs a hit or a premium slot, the mechanism has to be large enough to pay for it.
Choosing the Right Chip for Your Gameweek
A chip is a fixture tool. Pick it for the problem in front of you, not because a Gameweek number feels traditional.
The official Premier League guidance gives managers two sets of each chip for 2026/27: the first set is available through Gameweek 19, the second runs from Gameweek 20 onwards, only one chip can be played in a Gameweek, and all 380 fixtures for the season have been released. Check the official fixture and deadline pages for the Gameweek you are targeting before you commit a chip.
Free Hit against Wildcard
A Free Hit allows unlimited transfers for one Gameweek, then restores the squad to its pre-chip state. It fits a single blank or a single double, where you want the players for that week and you want yesterday's squad back afterwards. A broken eleven stays broken under a Free Hit, because the weakness returns with the players.
A Wildcard makes transfers free and keeps banked transfers. Once activated it cannot be cancelled. It fits several poor fixtures, several injuries, or a squad that has lost minutes in more than one place, because you are changing the team you will still own next week. If only one seat is wrong, a Wildcard is a large tool for a small job.
Position changes what the same Gameweek is worth. A double for a nailed defender at a defensively reliable club pays more reliably than a double for a forward one knock away from the bench, because the defender's minutes are the surer asset. Rank chip targets by minutes certainty first and recent form second, since a strong week for a rotated player is still a gamble while a quiet week for an ever-present starter remains two full matches of exposure.
Map the next several fixtures first. Mark the Gameweek the chip would cover and decide before the deadline, while team news can still change the mark. Spending the first Wildcard early buys a cleaner squad now at the cost of flexibility you cannot recall, and the second set does not arrive until Gameweek 20, so an early chip stays spent for weeks.
Hold the chip when the problem is one doubtful starter and your bench already covers him. Play the Free Hit when one unusual Gameweek would otherwise wreck a squad you still like. Play the Wildcard when several roles are gone and rebuilding by hand would mean taking hits for weeks. If you cannot name the problem in one sentence, you are not ready to spend the chip.
Captaincy and Points Hits Before You Transfer
A transfer is free only inside the transfers you have banked. Each move beyond that carries a points hit under the official rules. Check the current FPL help page for the hit cost and captain multiplier before you confirm.
Spend a hit only when it buys a clearer path to points: more secure minutes, a better role, or a fixture that fits that role. Compare that gain with the official next-gameweek xP rather than with last week's score. A defender can cash the same match through a clean sheet, a midfielder through several routes to goal involvement, and a forward mainly through goals, so the “safe” haul last week is weaker evidence than the job this week.
Captaincy is a separate decision. The armband concentrates risk on one match, so minutes certainty beats a hot finish against rotation. Use the official next-gameweek xP to compare candidates, then let role and opponent break ties.
Settle the captain after line-ups when possible; if the line-up is still out, keep a confirmed starter as vice-captain rather than naming a favourite.
Compare your top three on minutes security and on how the fixture pays their position: clean-sheet route, goal-involvement route, or goal-led route.
Leave price, position, availability and the final deadline check to the transfer checklist; captaincy ends where squad confirmation begins.
If the line-up is not out, you do not have a confirmed captain yet. You have a favourite, and a favourite is not a plan.
Confirm Your Transfers Before the Deadline
Make the one transfer the evidence supports, or hold. The deciding factor is still minutes certainty: a confirmed starter with an ordinary fixture usually protects more value than a form name whose role can vanish after one team-news update. The same goal pays differently by position, so judge the move inside the scoring rules for that shirt before judging the headline.
Confirm the official deadline time and that your planned move is inside it.
Confirm whether this Gameweek already uses a chip, since a chip can change the value of a transfer and a late hit.
Compare only the realistic alternatives for the same slot, then keep the option with the stronger minutes case.
If the decision still depends on an update that has not arrived, hold.
The player directory at FPL Player Stats is the route into the material already used here. Differential Picks, Budget Picks and Form Plus Next Fixture are free, along with every individual player profile. The other 14 maps and nine FPL tools are available to paid TFA members. A free profile is enough to put the name, price and availability on screen before you commit.
Open the player you are about to buy or sell, check the live price and team news, then make the transfer or leave the squad alone.